Automatically sync your notes across all your devices to keep important informantion handy.
Evernote Enterprise — your (team’s) second brain
Elevate the way your organization captures, shares, and accesses information with Evernote’s powerful collaboration tools.
Get started today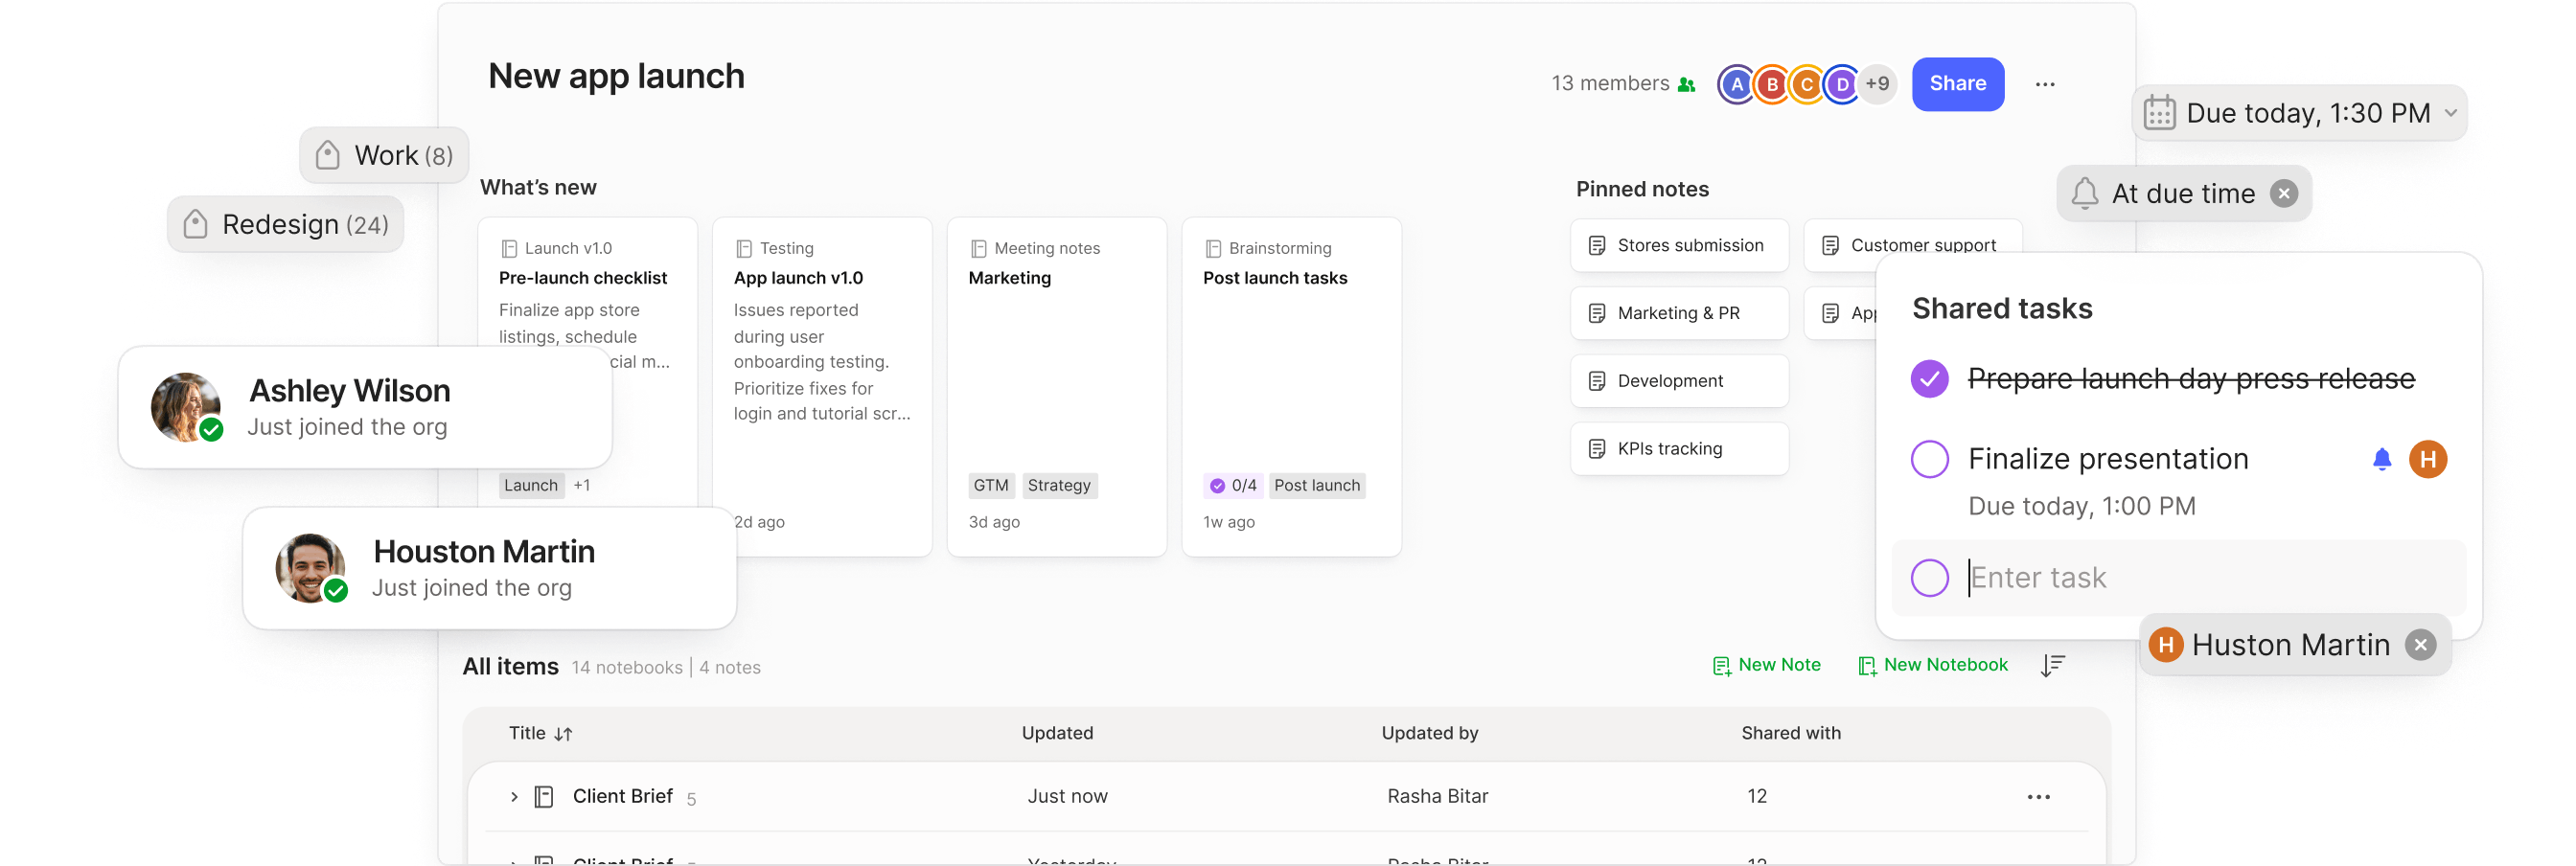
Join over 250,000 business professionals using Evernote today


Connect with our Success team
Have questions or want to schedule an Evernote demo? Our experts are ready to help you unlock Evernote’s full potential.

Stay connected
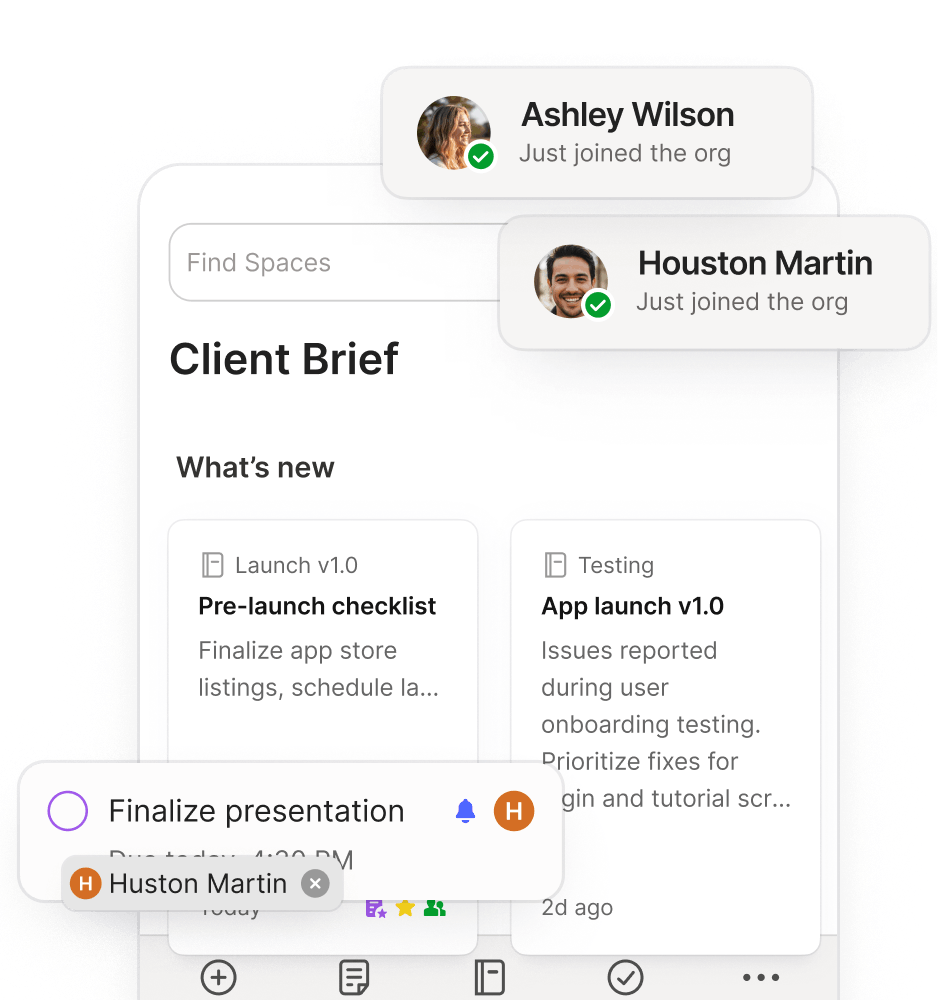
Stay productive
Collaborate in real-time via shared workspaces, instant file sharing, and in-line commenting.
Get things done
Manage and assign tasks across your organization to accomplish everything.

Instant Sync
A platform for big teams with big dreams
Evernote is engineered to keep large teams working fast. Experience near-instant sync for shared notes, notebooks, spaces, attachments, and tags, even at scale.


Admin tools
Robust admin tools for maximum control
As an account admin, you decide what can be seen and shared. Use Evernote’s dedicated tools to manage data, control access, configure permissions, restore deleted content, and track activity.


Security
Industry-standard security for peace of mind
In addition to the high security standards we follow across the entire Evernote platform, Enterprise administrators can easily set up advanced solutions like Single Sign-on (SSO) and Systems for Cross-domain Identity Management (SCIM) to verify and manage users.


Priority Support
Priority support for all of your team’s needs
All Evernote Enterprise customers can enjoy timely priority support. We offer several tiers to meet each team’s unique needs, ranging from a dedicated Customer Support Manager to direct access to our engineering staff.

Here’s what you can accomplish with Evernote in just 7 days

Get started
Contact our team for a product demo and customized quote
Account label
Access the admin console to configure security.
Upload important information and create dedicated team spaces/notebooks
Unleash your team’s full potential
Access the admin console to configure security.
Upload important information and create dedicated team spaces/notebooks
A flexible platform for any need
Collaboration
Knowledge base
CRM/Database
Out in the field
Work together, achieve more
Evernote’s flexible platform adapts to suit each team’s unique needs. Leverage shared workspaces to collaborate en masse. Assign and review tasks to keep projects on track. Seamlessly give access to external partners, even if they don’t have an Evernote account.

Shared Notebooks & Spaces: Centralized depots for your team’s work

Collaborative editing: Get all hands on deck with instant note synching

Lite Editor: Give externals the chance to view and edit your documents

Tasks: Assign and prioritize to-dos among your teammates.

Discover Evernote
Collaboration
Share ideas seamlessly with instant sync and streamlined sharing.
Spaces
Set up dedicated workspaces for your projects.
Calendar
Sync your work calendar to view, schedule, and edit meetings.
Tasks
Add and assign to-dos across your team.
Search
Find what you need in personal and public notes.
Web Clipper
Capture the web with our top-rated browser extension.
Integrations
Connect Evernote with your Google Workspace, Slack, and MS Outlook email.
AI Tools
Leverage tools like AI Edit and AI Transcribe to elevate your work.