
4.4
2,100+ reviews on G2

To restore an iPhone from a backup, start from the Hello screen of a new or erased iPhone, choose From iCloud Backup (or connect it to the computer that holds the backup), and pick the most recent backup. Before you start, have four things ready:
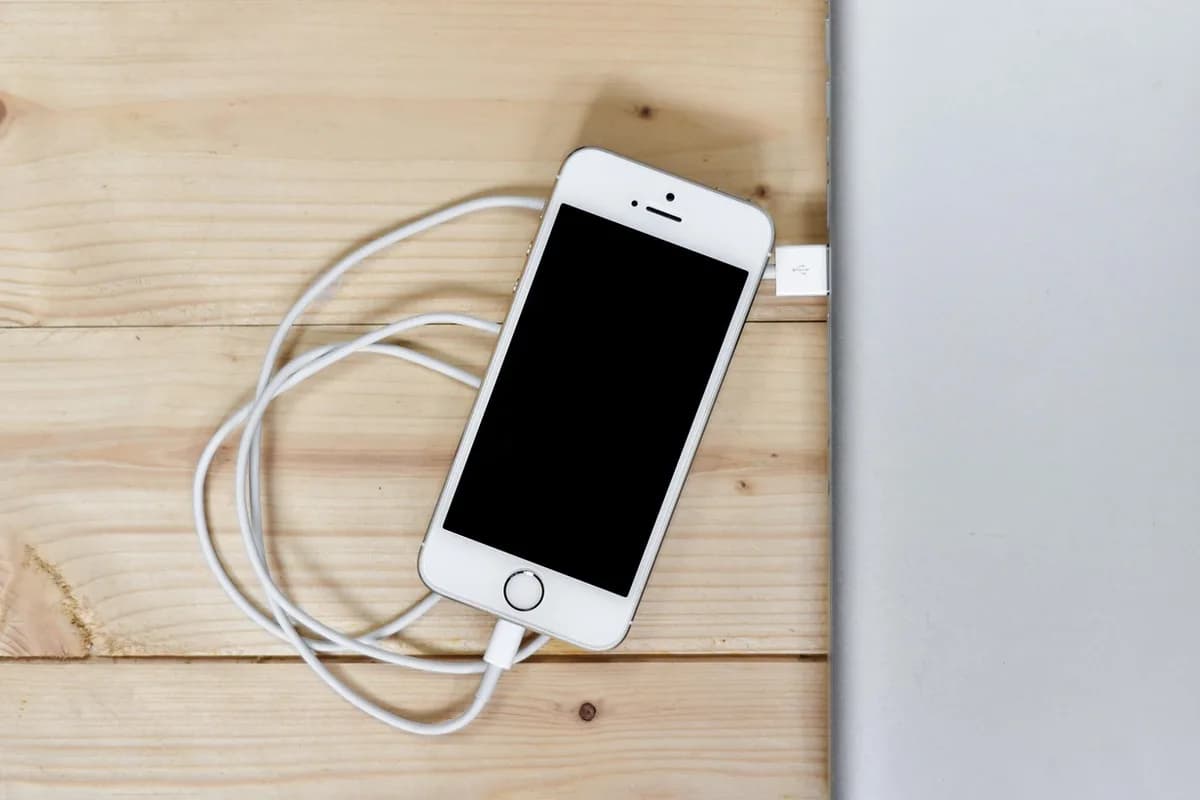
Check its date and size first.
Email and password, to see backups.
Stay connected until it finishes.
Restore runs during setup.
Keep your notes in Evernote. Plan the switch, see every file, then find a policy number.
Restoring happens during setup. If your iPhone is already set up, erase it first so the Hello screen appears.
The Hello screen appears.
Go through the onscreen steps until you reach the Transfer Your Apps & Data screen.
Then sign in to your Apple Account to see your backups.
Review the date and size of each backup and pick the newest. If asked to update iOS first, follow the onscreen steps.
When asked, sign in to restore your apps. If you used more than one Apple Account, sign in to each; you can skip and sign in later.
Keep the iPhone connected until the progress bar finishes. The time depends on the backup size and your network speed.
Photos, music and apps keep downloading from iCloud after setup. Keep the iPhone on Wi-Fi and power until they are done.
Restoring from a computer instead? Open the Finder (Mac) or the Apple Devices app (Windows), connect the iPhone, click Restore Backup and choose the newest backup.
You can use either backup, and if one is not available, the other still works.
| iCloud backup | Computer backup | |
|---|---|---|
| Where it is | In iCloud | On your Mac or PC |
| Where to start | Hello screen > From iCloud Backup | Finder (macOS 10.15 or later) or Apple Devices app (Windows 10 or later) > Restore Backup |
| You need | Wi-Fi and your Apple Account | A USB cable and the computer |
| Encryption | Always encrypted | Optional; an encrypted backup needs its password |
| Not included | Data already synced to iCloud, such as iCloud Photos | Content synced from your Mac or PC, and data already in iCloud |
Apple Support, "Restore your iPhone, iPad, or iPod touch from a backup" and "Backup methods for iPhone or iPad".
4.4
2,100+ reviews on G2

4.4
8,200+ reviews on Capterra

4.4
73,000+ reviews on App Store

248M
Registered users

It depends on the size of the backup and your network speed. Photos, music and apps keep downloading after setup, which can take longer.
No. Restoring happens during setup, so an iPhone that is already set up must be erased first.
On a Mac with macOS Catalina 10.15 or later, open the Finder; on Windows 10 or later, open the Apple Devices app. Connect the iPhone, select it, click Restore Backup, pick the newest backup and click Restore.
If you use iCloud Photos, photos are not part of the backup: they sync from iCloud after setup. Keep the iPhone on Wi-Fi and power.
Apple warns there is no way to recover an encrypted computer backup without its password. You can still restore from an iCloud backup if you have one.
Yes, but do it soon: setting up as new creates iCloud backups that replace your saved ones. Erase the iPhone and restore from the saved backup.
Yes. Evernote notes are stored in your Evernote account, not only in the backup, so they return when you sign in to Evernote on the new iPhone.
Your notes, scans and recordings live in your Evernote account, so they are there when you sign in on the restored iPhone.
Ask the AI Assistant for a checklist for moving to your new iPhone. It adds the steps to a note you can tick off as you go.
Sign in on the new phone and your notes come back from your account. On a computer, the Files view lists every scan, photo, PDF and recording.
Search for a word printed on a scan, like a policy number, and Evernote finds the scan and highlights the word.
Your notes, scans and recordings sync to your Evernote account. Sign in on the new phone, and search finds words printed in a photo.
Start for free