
4.4
2,100+ reviews on G2

To screen record on iPhone, swipe down from the top-right corner to open Control Center, tap the Screen Recording button and wait for the 3-second countdown. The video saves to the Photos app. Four things to know:
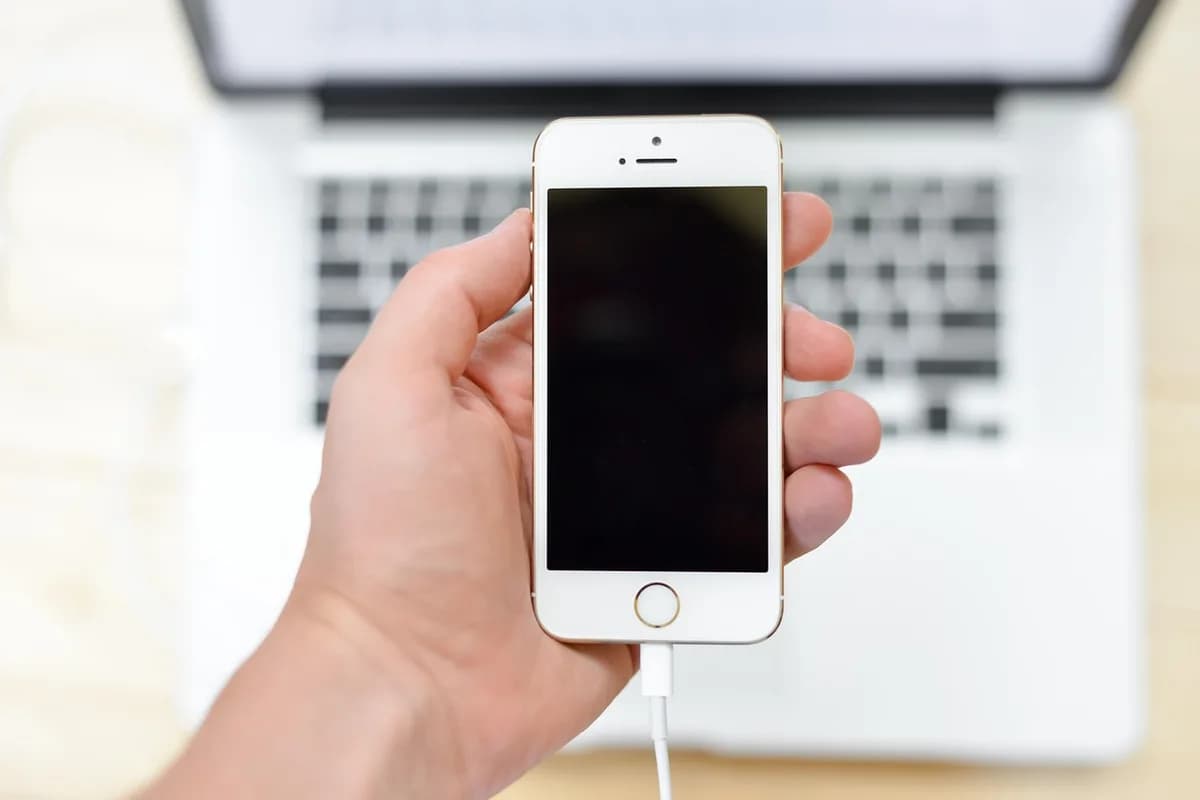
If Screen Recording is missing from Control Center, add it with Add a Control.
Tap Screen Recording, wait 3 seconds, then close Control Center.
Touch and hold the button and turn on Microphone to record your voice.
Tap the red indicator at the top of the screen, then tap Stop.
Drop your recording into a note. Get a transcript with speakers, then the steps with times.
You only do this once. Open Control Center, tap the Add button to start editing, then tap Add a Control at the bottom of the screen and choose Screen Recording from the gallery.
On an iPhone with Face ID, swipe down from the top-right corner of the screen. On an iPhone SE, swipe up from the bottom.
To record your voice, touch and hold the Screen Recording button, tap Microphone so it turns on, then tap Start Recording. Skip this step for a silent video.
Tap the Screen Recording button and wait for the 3-second countdown. Close Control Center: swipe up from the bottom center on an iPhone with Face ID, or press the Home button on an iPhone SE. Then do what you want to record.
On an iPhone with the Dynamic Island, tap the red circle at the top, then tap the Stop button. On other models, tap the red timer at the top left, then tap Stop.
Open the Photos app, tap Collections, scroll down to Media Types and tap Screen Recordings. From there you can open the recording.
| You want to | Do this | You get |
|---|---|---|
| 1Add button | Control Center, edit, Add a Control, Screen Recording | In Control Center |
| 3With sound | Touch and hold Screen Recording, tap Microphone, Start Recording | With your voice |
| 4Silently | Tap Screen Recording, wait 3 seconds | Silent |
| 5Stop | Tap the red circle or red timer at the top, then Stop | Saved |
| 6Find it | Photos, Collections, Media Types, Screen Recordings | All recordings |
Steps from Apple Support for iPhone. The same Control Center steps work on iPad.
Check these before you record something you cannot repeat.
| Problem | Why it happens | What to do |
|---|---|---|
| No button | It is not in Control Center yet. | Edit Control Center, tap Add a Control and choose Screen Recording. |
| No sound | The microphone may have been off. | Touch and hold Screen Recording and turn on Microphone before you start. |
| Blank video | Some apps do not allow their audio or video to be recorded. | Nothing to change on the iPhone: the app blocks it. |
| Won't start | Screen mirroring may be on. | Stop mirroring first. You cannot do both at once. |
| Not in Photos | It sits in your photo library with your photos. | Photos, Collections, Media Types, Screen Recordings. |
Source: Apple Support, "Record the screen on your iPhone, iPad, or iPod touch" and the iPhone User Guide.
How to start, stop and find a recording on every device. Copy it, or save it to your Evernote account so it is on your phone and your computer.
Mac: Shift-Command-5, then Record Entire Screen or Record Selected Portion, then Record
Mac, stop: Command-Control-Esc, or Stop in the menu bar
Mac, files: .mov on the desktop, named "Screen Recording" with the date and time
iPhone: open Control Center, tap Screen Recording, wait 3 seconds
iPhone, with your voice: touch and hold Screen Recording, turn on Microphone
iPhone, files: Photos, Collections, Media Types, Screen Recordings
Windows 11: Windows logo key + Shift + R (Snipping Tool), drag an area, Start
Windows 11, apps and games: Windows logo key + G (Xbox Game Bar), Record
Android: swipe down twice, tap Screen record, Start
4.4
2,100+ reviews on G2

4.4
8,200+ reviews on Capterra

4.4
73,000+ reviews on App Store

248M
Registered users

Open Control Center, touch and hold the Screen Recording button, tap Microphone to turn it on, then tap Start Recording. The video records your voice along with the screen.
Check the microphone: touch and hold the Screen Recording button and turn it on before you start. Some apps also do not allow their audio to be recorded.
To your photo library. Open Photos, tap Collections, scroll to Media Types and tap Screen Recordings to see only those.
Tap the red circle in the Dynamic Island, or the red timer at the top left on other models, then tap Stop. You can also open Control Center and tap the red Screen Recording button.
It has to be added first. Open Control Center, start editing, tap Add a Control and choose Screen Recording. It is then in Control Center.
No. You cannot record your screen and use screen mirroring at the same time, so stop mirroring first.
The same way: swipe down from the top-right corner to open Control Center, tap Screen Recording and wait for the 3-second countdown. Recordings save to Photos.
Add the recording from Photos to a note. Evernote transcribes it, and the AI Assistant turns it into steps.
Add the recording to a note from the insert menu. It plays inside the note, next to your notes on the process.
Ask the AI Assistant to transcribe the iPhone recording and label who is speaking. The transcript appears in the note, with the time of each line.
Ask it to turn the iPhone walkthrough into numbered steps with the time of each. It adds them to the top of the note.
Keep the video in a note, get a transcript with who said what, and let the AI Assistant write the steps with the time of each.
Start for free