Update (September 24, 2018):
There’s a new way to find, manage, and use note templates in Evernote. Visit our template gallery to browse pre-made templates you can add to your Evernote account.
It’s 4:45 p.m. on Wednesday afternoon, and you have one question on your mind: what should I be doing right now?
You’re busy getting things done, but the notification count on your email inbox is climbing by the minute. You really should get back to Tom on…what was it again? Now the phone is ringing—it’s your kid’s teacher, informing you that your daughter’s grades are low and she needs some extra attention. You have an emergency meeting at 5:00, which kills your plan to finalize the agenda for tomorrow’s offsite. You’re starting to get texts from the attendees because you’re late sending out the logistics. You have a strategic plan that’s been almost finished for weeks, but you’ve been waiting for a board member’s input. And through it all, there’s a tickle at the back of your mind that there may be an even more important priority lurking somewhere, but you can’t remember what it is.
Welcome to the era of information abundance, which has created in many of us a scarcity of attention.
David Allen’s best-selling book Getting Things Done* (known affectionately by fans as GTD) proposes a simple 5-step approach to managing the complexity of modern work. It has sold millions of copies in dozens of countries around the world and stands on its own as a practical guide to the art of stress-free productivity. It also just so happens that the GTD approach can be implemented easily within Evernote. If this article inspires you, grab these custom-made Evernote templates from Barbara Fuller at Simplify Days to start the new year right with GTD:
- GTD Project List Template
- GTD Individual Project Template
- GTD Areas of Responsibility Template
- GTD Weekly Review Template
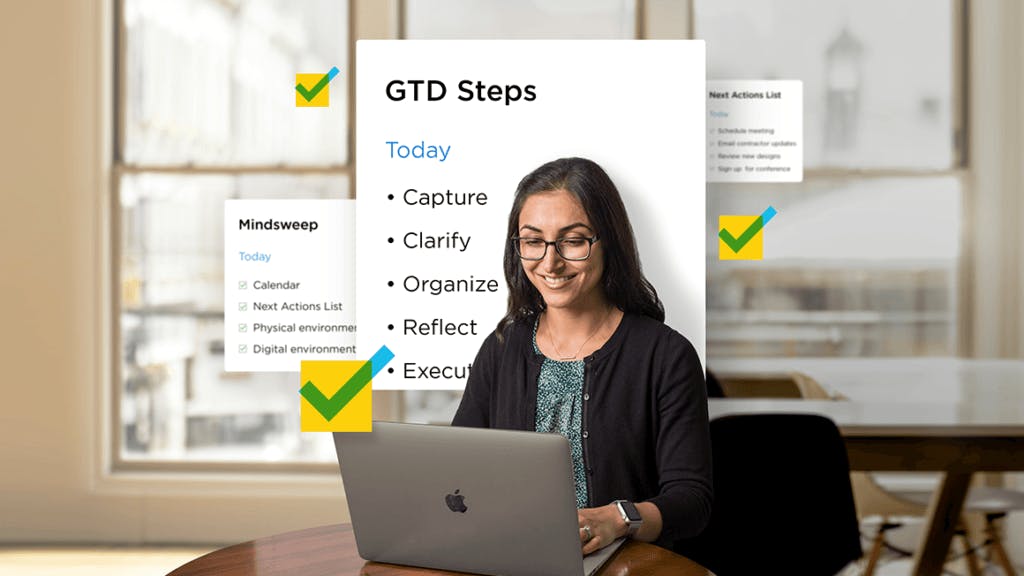
Here are the steps to stress-free productivity that GTD recommends:
- CAPTURE every commitment in your life in a trusted place outside your head (like a software program or a piece of paper)
- CLARIFY exactly what each commitment is, the desired outcome of fulfilling it, and only the very next action required
- ORGANIZE reminders of these actions in a Project List
- REFLECT on your list on a weekly basis to make sure it’s clear, current, and complete
- EXECUTE on your actions by making intuitive decisions about what to do next, trusting your system to not let anything fall through the cracks
The best introduction to what these five steps look like in practice is the Project List Mindsweep. It is a guided, step-by-step exercise to reveal just how many projects you’ve committed to in your work and life. This exercise is the first step in gaining a sense of relaxed control over your workload. It all starts with determining, clearly and visibly, the current state of your commitments.
The energy unleashed by this capture exercise gives you the motivation to think through the four subsequent steps of clarifying, organizing, reflecting, and executing on your new workflow.
I’d like to guide you through the Project List Mindsweep in this article. Add these four templates to your Evernote account so you can follow along with your own projects:
- GTD Project List Template
- GTD Individual Project Template
- GTD Areas of Responsibility Template
- GTD Weekly Review Template
How to use Evernote templates »
The Project List Mindsweep
The Project List Mindsweep is extremely valuable for anyone, whether you’ve never heard of GTD or have been a dedicated practitioner for years. Most people couldn’t give you a full inventory of their projects if their life depended on it. Yet they also tell you they have too much on their plate, and “don’t have the bandwidth.” Without a comprehensive Project List, you can never know how much capacity you really have.
Understand the GTD definition of a “Project”
We use the word “project” to refer to a lot of different things, from a multi-billion dollar construction project to a bathroom remodel.
But GTD asks us to adopt a much smaller definition for what qualifies as a Project: “any outcome you’re committed to completing that requires more than one action step.”
This definition forces us to acknowledge that even the seemingly simplest outcomes—like “buy headphones” or “prepare a presentation”—require numerous steps. Instead of tracking these steps in our heads, we want to track them in an external tool. That way, we’re forcing ourselves to put a “stake in the ground” to remember to review our progress regularly. Your Project List contains all these “stakes in the ground,” so you can focus on only the next action.
Most people find that sticking to this definition produces a list of around 30–100 projects. This is why we want to use an external tool—not our brains.
Step 1: Capture
Do a Brain Dump
Don’t judge. Don’t filter. Don’t try to clarify, process, organize, or categorize them as you capture them. That happens later.
Use the Project List template for this step. We’ll organize and clarify the list of projects you come up with in later steps.
Here are some common places to look:
Your mind
What’s worrying you? Identify that as a Project. Name it so you can tame it. What’s taking more mental bandwidth than it deserves? What activities aren’t you making consistent progress on that could benefit from a bit of structure?
Example: “My back hurts” → Schedule doctor’s appointment to diagnose back pain
Calendar
Look a few weeks into the past on your calendar: what do you need to follow up on? What do you need to finish? What Projects do you want to create to follow up on events that already happened?
Peer into the future: what will you need to plan or prepare? What goals do you need to set? Who do you need to catch up with?
Example: “I need to figure out what we’ll do at that team off-site” → Plan team offsite agenda
Next Actions (To Do) list
What things are you already doing that are actually part of a bigger project you haven’t identified yet?
Example: “I need to follow up with that house cleaner” → Contact house cleaner and schedule weekly cleaning time
Agendas
What about communication? Are there any actions that you’ve already scheduled with people that are part of a bigger project?
Example: “I need to call Linda back” → Develop sales campaign with Linda
Briefcase/bag/wallet/purse
What things have you saved because they remind you to take an action? What have you kept because you need it for a project?
Example: Business card in purse → Follow up with potential contractor from conference
Your physical environment
Look around your office, home, car, or desk. What physical objects represent projects you haven’t identified yet?
Example: Document on desk → Package up and mail document to business partner
Digital environment
Look at your computer desktop, downloads folder, documents folder, bookmarks, emails, and open browser tabs. What are you keeping around because it is part of a project that you can name and organize?
Example: PDF article on desktop → Read draft article and give feedback to co-author
Processes or procedures
Which processes in your work or life could be more efficient, streamlined, or purposeful? What do you do regularly that takes too long, is too difficult, or you haven’t thought through?
Example: Grocery shopping → Collect list of staple food supplies and set up recurring deliveries on Amazon Fresh
Creative opportunities
What would you like to learn, develop, build, pursue, start, explore, or play with as a project?
Example: Flyer for improv class → Look up and schedule improv class
Competence building
Are there skills you’d like to learn? Which hobbies would you like to start? What kind of project could advance your career, or make your life more fun or interesting?
Example: Email confirmation for online course purchase → Complete online course on Python
Don’t worry about the exact outcome of each Project you identify at this stage, or whether you’re actually committed to it. Don’t let anything keep you from writing down something that might possibly be a Project. Also, don’t fret over how you name them.
You might finish this step with a Brain Dump that looks something like this. Yours will probably be quite a bit longer.
- Schedule doctor’s appointment to diagnose back pain
- Plan team offsite agenda
- Find house cleaner and schedule weekly cleaning time
- Develop sales campaign with Linda
- Follow up with potential contractor from conference
- Package up and mail document to business partner
- Read draft article and give feedback to co-author
- Collect list of staple food supplies and set up recurring deliveries
- Look up and schedule improv class
- Complete online course on Python
In the next step, we’ll decide what to do with these Projects.
Step 2: Clarify
Refine your list
In the previous step, you got every potential project off your mind and onto a list, where you can view it objectively. Now it’s time to do another pass and clean up your list to make it more clear and actionable.
Continue using the Project List template for this step, moving items from the Brain Dump section to the Project List section as you clean them up.
Some options to consider:
Delete anything that is obviously not a Project
Sometimes you need to write a thing down to realize it’s not something you’re committed to or truly interested in. Delete and let it go.
Move “someday/maybe” projects to the bottom of the list
Move anything you might be interested in doing eventually, or you’re not sure you want to do, to the bottom of the list.
Merge projects that are tied to the same outcome
If you have related items such as “Research computer options,” “Back up and reformat current computer,” and “Set aside budget for computer purchase,” you can probably merge them under an overarching Project called “Buy new computer.”
If a Project is really a one-time task, add it to your calendar instead
For example, “Pick up sister from airport” doesn’t really need to be actively tracked over time. Place it on the appropriate day on your calendar, and that will trigger all the necessary actions.
Delegate any appropriate Project
Even if you delegate a Project to someone else, if you are accountable for the outcome, you still need a Project entry to track or follow up on that assignment.
Step 3: Organize
Identify the outcome or intention for each Project
You aren’t finished calling something a Project until you identify the desired outcome. In this step, you’ll identify what you want to happen with each item. Then you can move it to your Individual Project template.
Continue using the Individual Project template for this step, moving items from the Initial Project template to the Individual Project template section as you identify your desired outcomes.
Some projects have a precise objective, like “Acquire 100 new leads and 25 new sales.” Other projects are more open-ended or intentional, such as “Have a peaceful vacation spending quality time and connecting with my family.”
A classic and effective guide to formulating clear outcomes (or goals) is the S.M.A.R.T. framework. The acronym stands for “Specific, Measurable, Attainable, Relevant, and Time-bound.” This framework helps you to make the outcomes as tangible and specific as possible, without getting distracted by grand, inspiring “life goals.” Simply ask, “What do I want to happen as a result of this Project?”
Using our list as an example:
- Schedule doctor’s appointment to diagnose back pain [Outcome: Back pain is resolved and I can sleep through the night without discomfort, by March 1, 2018]
- Plan team offsite agenda [Outcome: Team is clear about what needs to be accomplished, and we identify next actions for every item on the agenda, by Monday, Feb. 19, 2018]
- Find house cleaner and schedule weekly cleaning time [Outcome: We have a weekly cleaning time on the calendar, and the house is consistently clean, by April 1, 2018]
- Develop sales campaign with Linda [Outcome: Sales campaign is approved by senior leadership, budget is allocated, and the team is briefed on it, by Dec. 15, 2018]
Keep in mind that the ‘T’ in S.M.A.R.T. stands for ‘Time-bound.’ That means that every outcome should have a deadline or timeframe, whether that is a hard deadline or just a preferred one.
Write the outcomes/intentions you’ve identified for each Project in the second column, and the time frame or deadline in the third column.
Rewrite your Project titles to make clear how each Project leads to its desired outcome
Time to do a little editing. Make sure you know what “done” looks like for every Project. There’s little chance you’ll ever get there if you don’t know where “there” is.
Begin every Project with a verb that describes DONE: finalize, submit, deliver, complete, send, clarify, organize, update, implement, resolve, submit, reorganize, design, roll out, install, set up, publish, complete.
If you find yourself using verbs like manage, oversee, ensure, or maximize, it’s probably an ongoing Area of Responsibility, not a Project. An Area of Responsibility is an ongoing part of your life in which you’ve committed to a certain standard, like Health, Finances, Apartment, or Productivity. These are also important to keep track of, but don’t belong on your Project List.
You can move these items to our Areas of Responsibility template, to be managed separately from your Project List.
Step 4: Reflect
Review your GTD lists weekly
Look over your entire list from a bird’s eye view, and ask some fundamental questions:
- Does this list fully represent my priorities, interests, values, and long-term goals?
- In which Areas of Responsibility do I have too many Projects? Not enough?
- Are there important outcomes or goals that don’t have any Projects targeted at them?
- Am I spending time or attention on something that has no clear outcome or goal?
- If anything is unclear, ask yourself, “What am I really trying to accomplish here?” or “What‘s the point of doing this?”
- With this whole inventory in front of you, are there any Projects you want to kill, postpone, renegotiate, or clarify?
Reflect on your week with this Evernote template for creating a Weekly Review.
Bonus step: Prioritize your list on the Project level
Prioritizing individual tasks or pieces of information as they arrive can be exhausting because we’re trying to decide several things at once:
- Is this important?
- Is it urgent?
- Does it belong to a Project that’s important?
- Does it belong to a Project that’s urgent?
- Is this an insignificant detail, or a crucial one?
You can eliminate a lot of this decision-making by pre-prioritizing your work on the Project level, instead of at the task level. Sort the list from highest to lowest priority, according to how much of your mental bandwidth each Project should be taking up in any given week. Doing this weekly will help make the granular decisions during the week much easier.
Because your Projects are constantly changing and evolving, the Weekly Review is an exercise you want to do regularly. Senior GTD Coach Meg Edwards says that the Weekly Review is the “master key” to GTD. It is a standing appointment with yourself to reflect on the week and update your Project List.
If you do this review from a more calm and balanced perspective, away from the chaos of the workday, you’ll find it easier to maintain perspective throughout the week. You’ll start thinking less like an individual project manager, and more like a project portfolio manager, balancing all the risks and rewards of your project portfolio as a whole.
Step 5: Execute
Regain control and be more productive
With a clear Project List in hand, you are ready to execute on your tasks without having to remember which balls you have in the air. The goal of GTD is for stress, tensions, and obstacles to trigger new projects, instead of emotions.
Learn more about GTD by reading the book (updated in a new 2015 edition), by joining the membership site GTD Connect (which includes webinars, interviews, and instructional guides on all aspects of the method), or my video-based online course, Get Stuff Done Like a Boss.
*GTD® and Getting Things Done® are registered trademarks of The David Allen Company, and this course is not endorsed by or affiliated with them in any way.